Free Printable: Halloween Card Set + Invitation

Happy Friday!

I don't know about you, but I'm really excited about fall. There has been a crisp chill in the air the past few mornings and leaves all over the sidewalks which means my favorite season is here. And the first "holiday" in the end of year lineup is Halloween which will arrive before we know it.

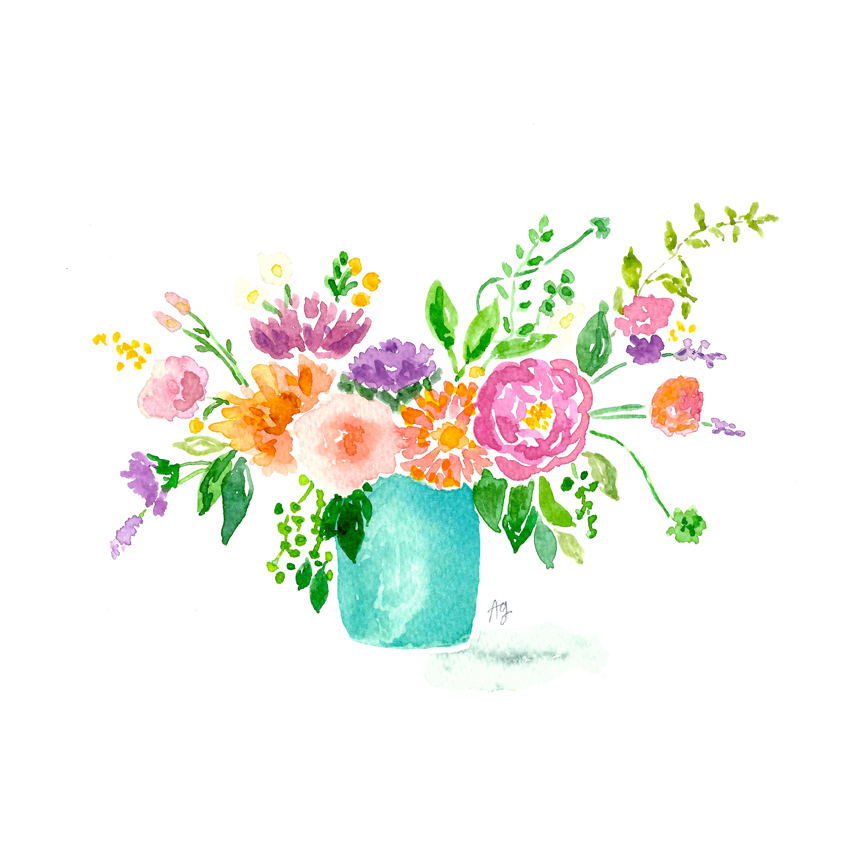
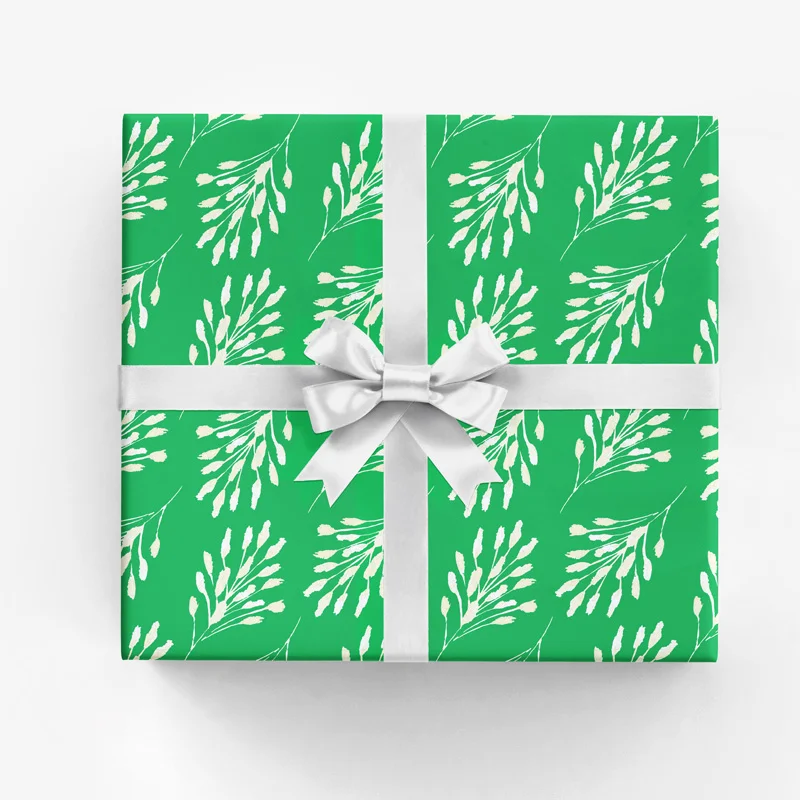
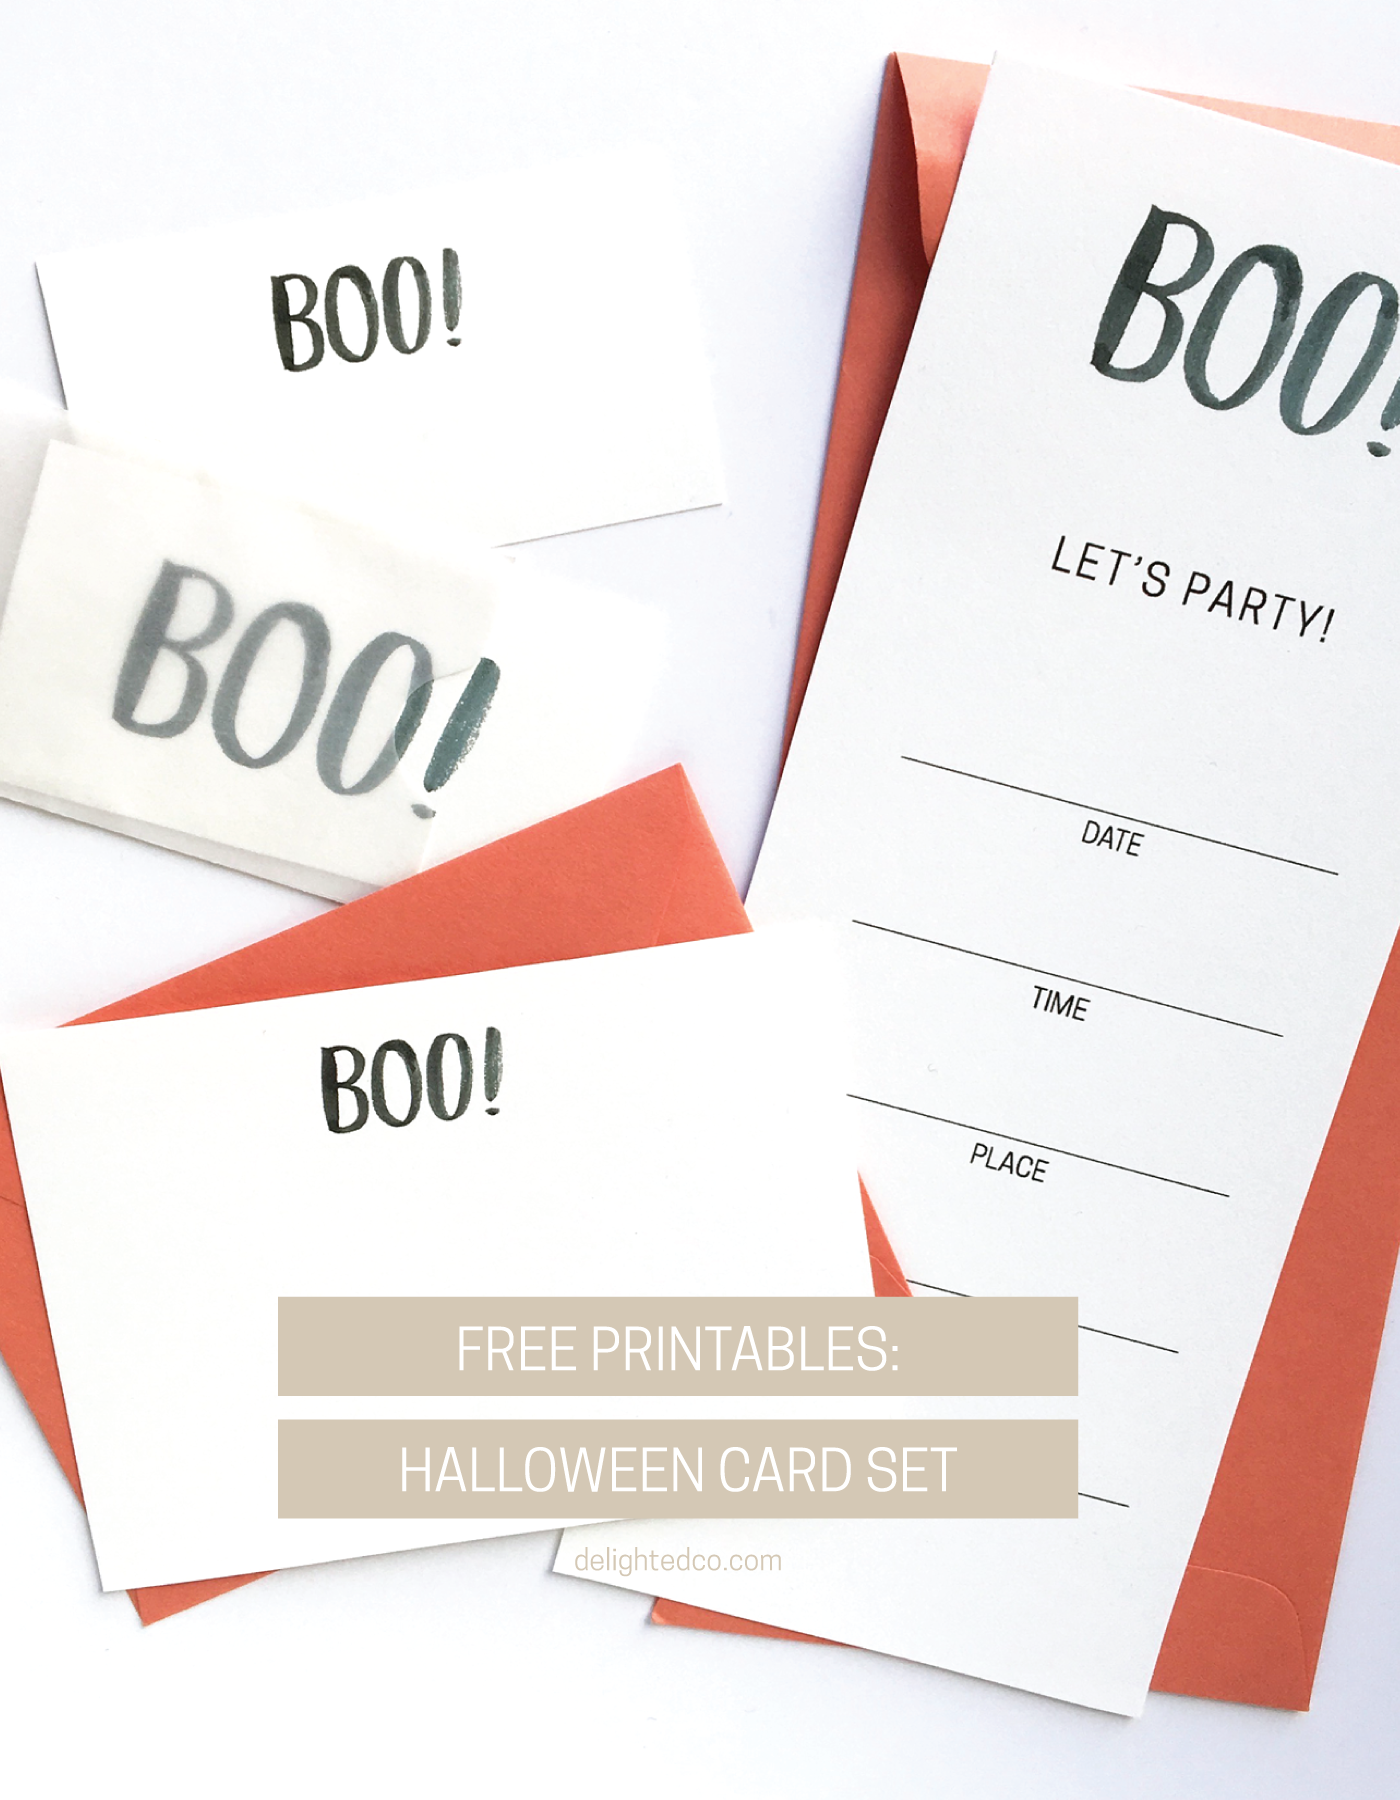
So...I designed this week's free download with Halloween in mind. Whether you're coordinating a party and need invitations, planning to put together goodie bags for your neighborhood kids, or needing fun little cards for a quick note, I hope this watercolor card set will come in handy during the season.

Free Halloween Printables: Cards + Invitation  |  Delighted Creative Co.

The following pieces are included in the download:
• Invitations
• Two types of gift tags
• 4-Bar note cards

Enjoy!


How to Create a Transparent Background for Your Watercolor Art

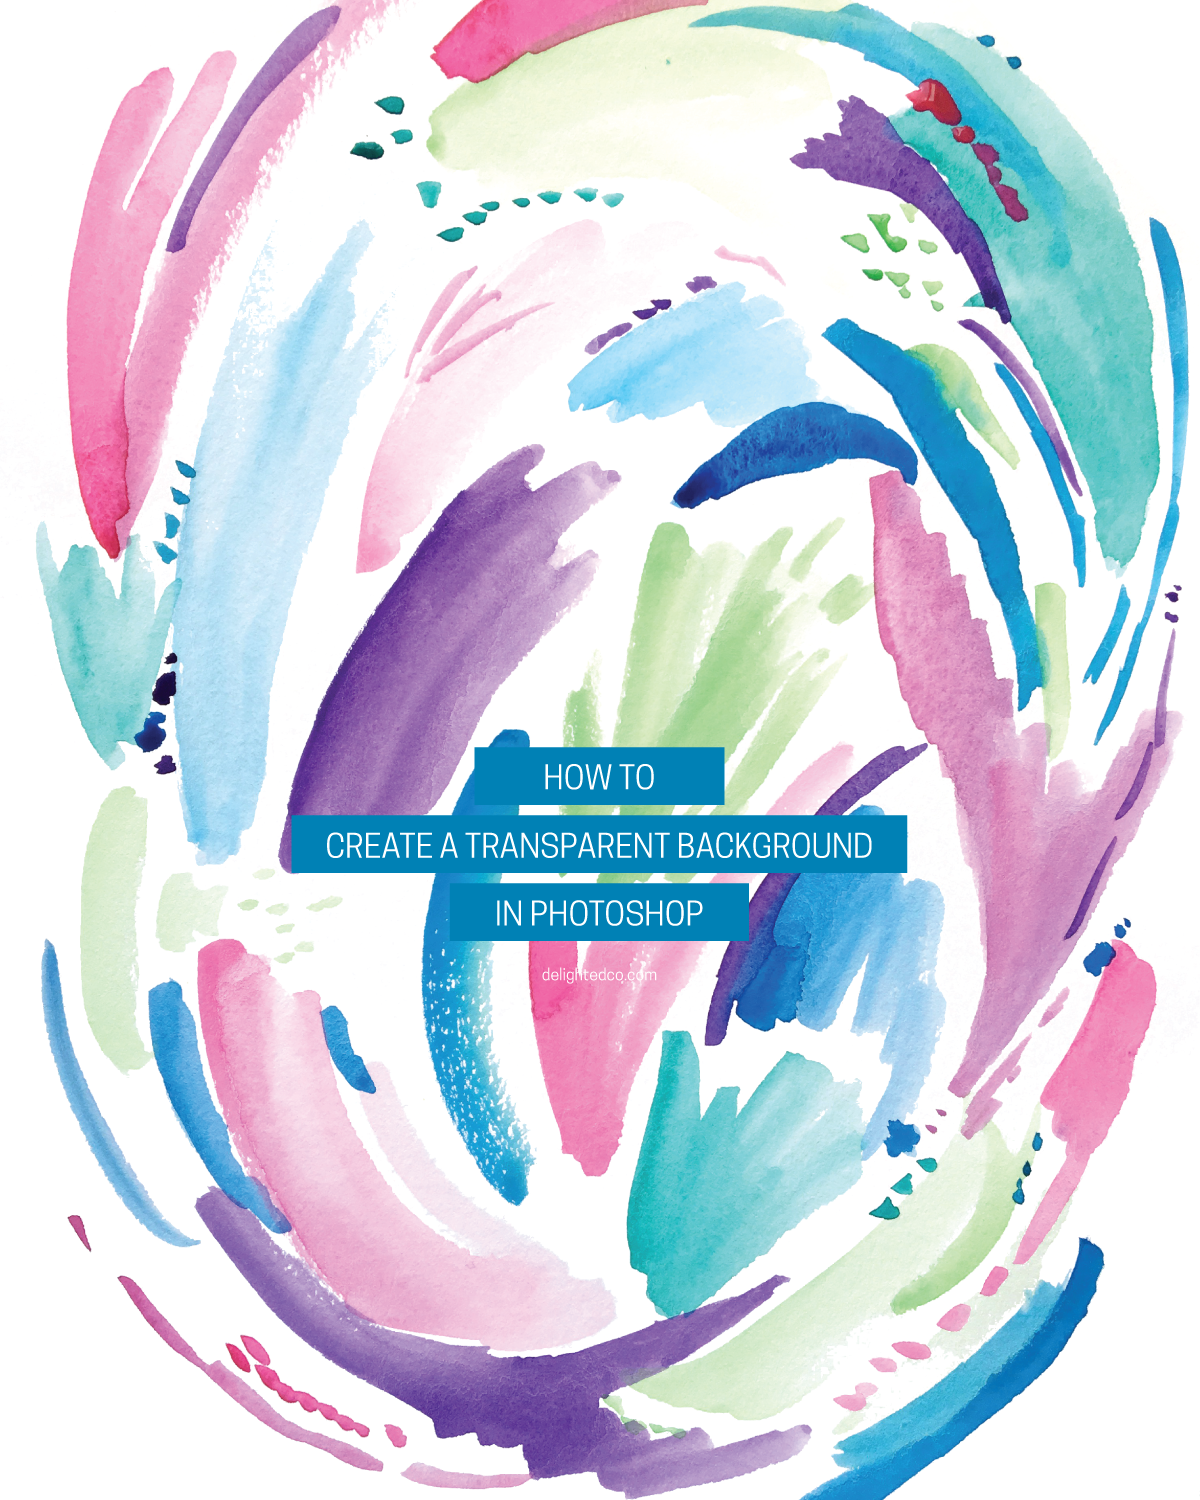
Digitally removing the color and paper texture from the background of your artwork can provide you with lots of possibilities for your art. You can turn it into a large print for your wall, design note cards, layer it on photos, use it to make sidebar buttons for your website, and so on. It's a fairly straight forward process but can take some time depending on how familiar you are with Adobe Photoshop and especially depending on the artwork. I spent 15 minutes removing the background of this piece shown because it has swashes of color all over, but artwork with more defined shapes would take less time.

Let me show you how...

How to Digitally Create a Transparent Background for your Artwork in Photoshop • Delighted Creative Co

In the video below, I walk you through the process using the magic wand to select all of the "paper" on the watercolor painting and deleting it to get a transparent background.

STEPS
1 • Take a photo or scan your artwork
2 • Bring the image into Photoshop
3 • Create a layer
4 • Adjust the levels
5 • Use the magic wand tool to select the background
6 • Delete the background
7 • Save as a PSD file

Let me know if you have any questions! Next week I'll show you how I set up the watercolor note card using Adobe Illustrator.

And if you want the PDF of the notecard I created, download it HERE.

What I'm Learning: Angled Watercolor Brush

As I continue learning to watercolor, I am getting ready to start the second part of Yao Cheng's Beginning Watercolor class on Creativebug but don't yet have all the supplies Yao recommends which is delaying my start. (Although in the interim I'm working on a different watercolor class on Skillshare which I'm also enjoying...I'll share more later.)

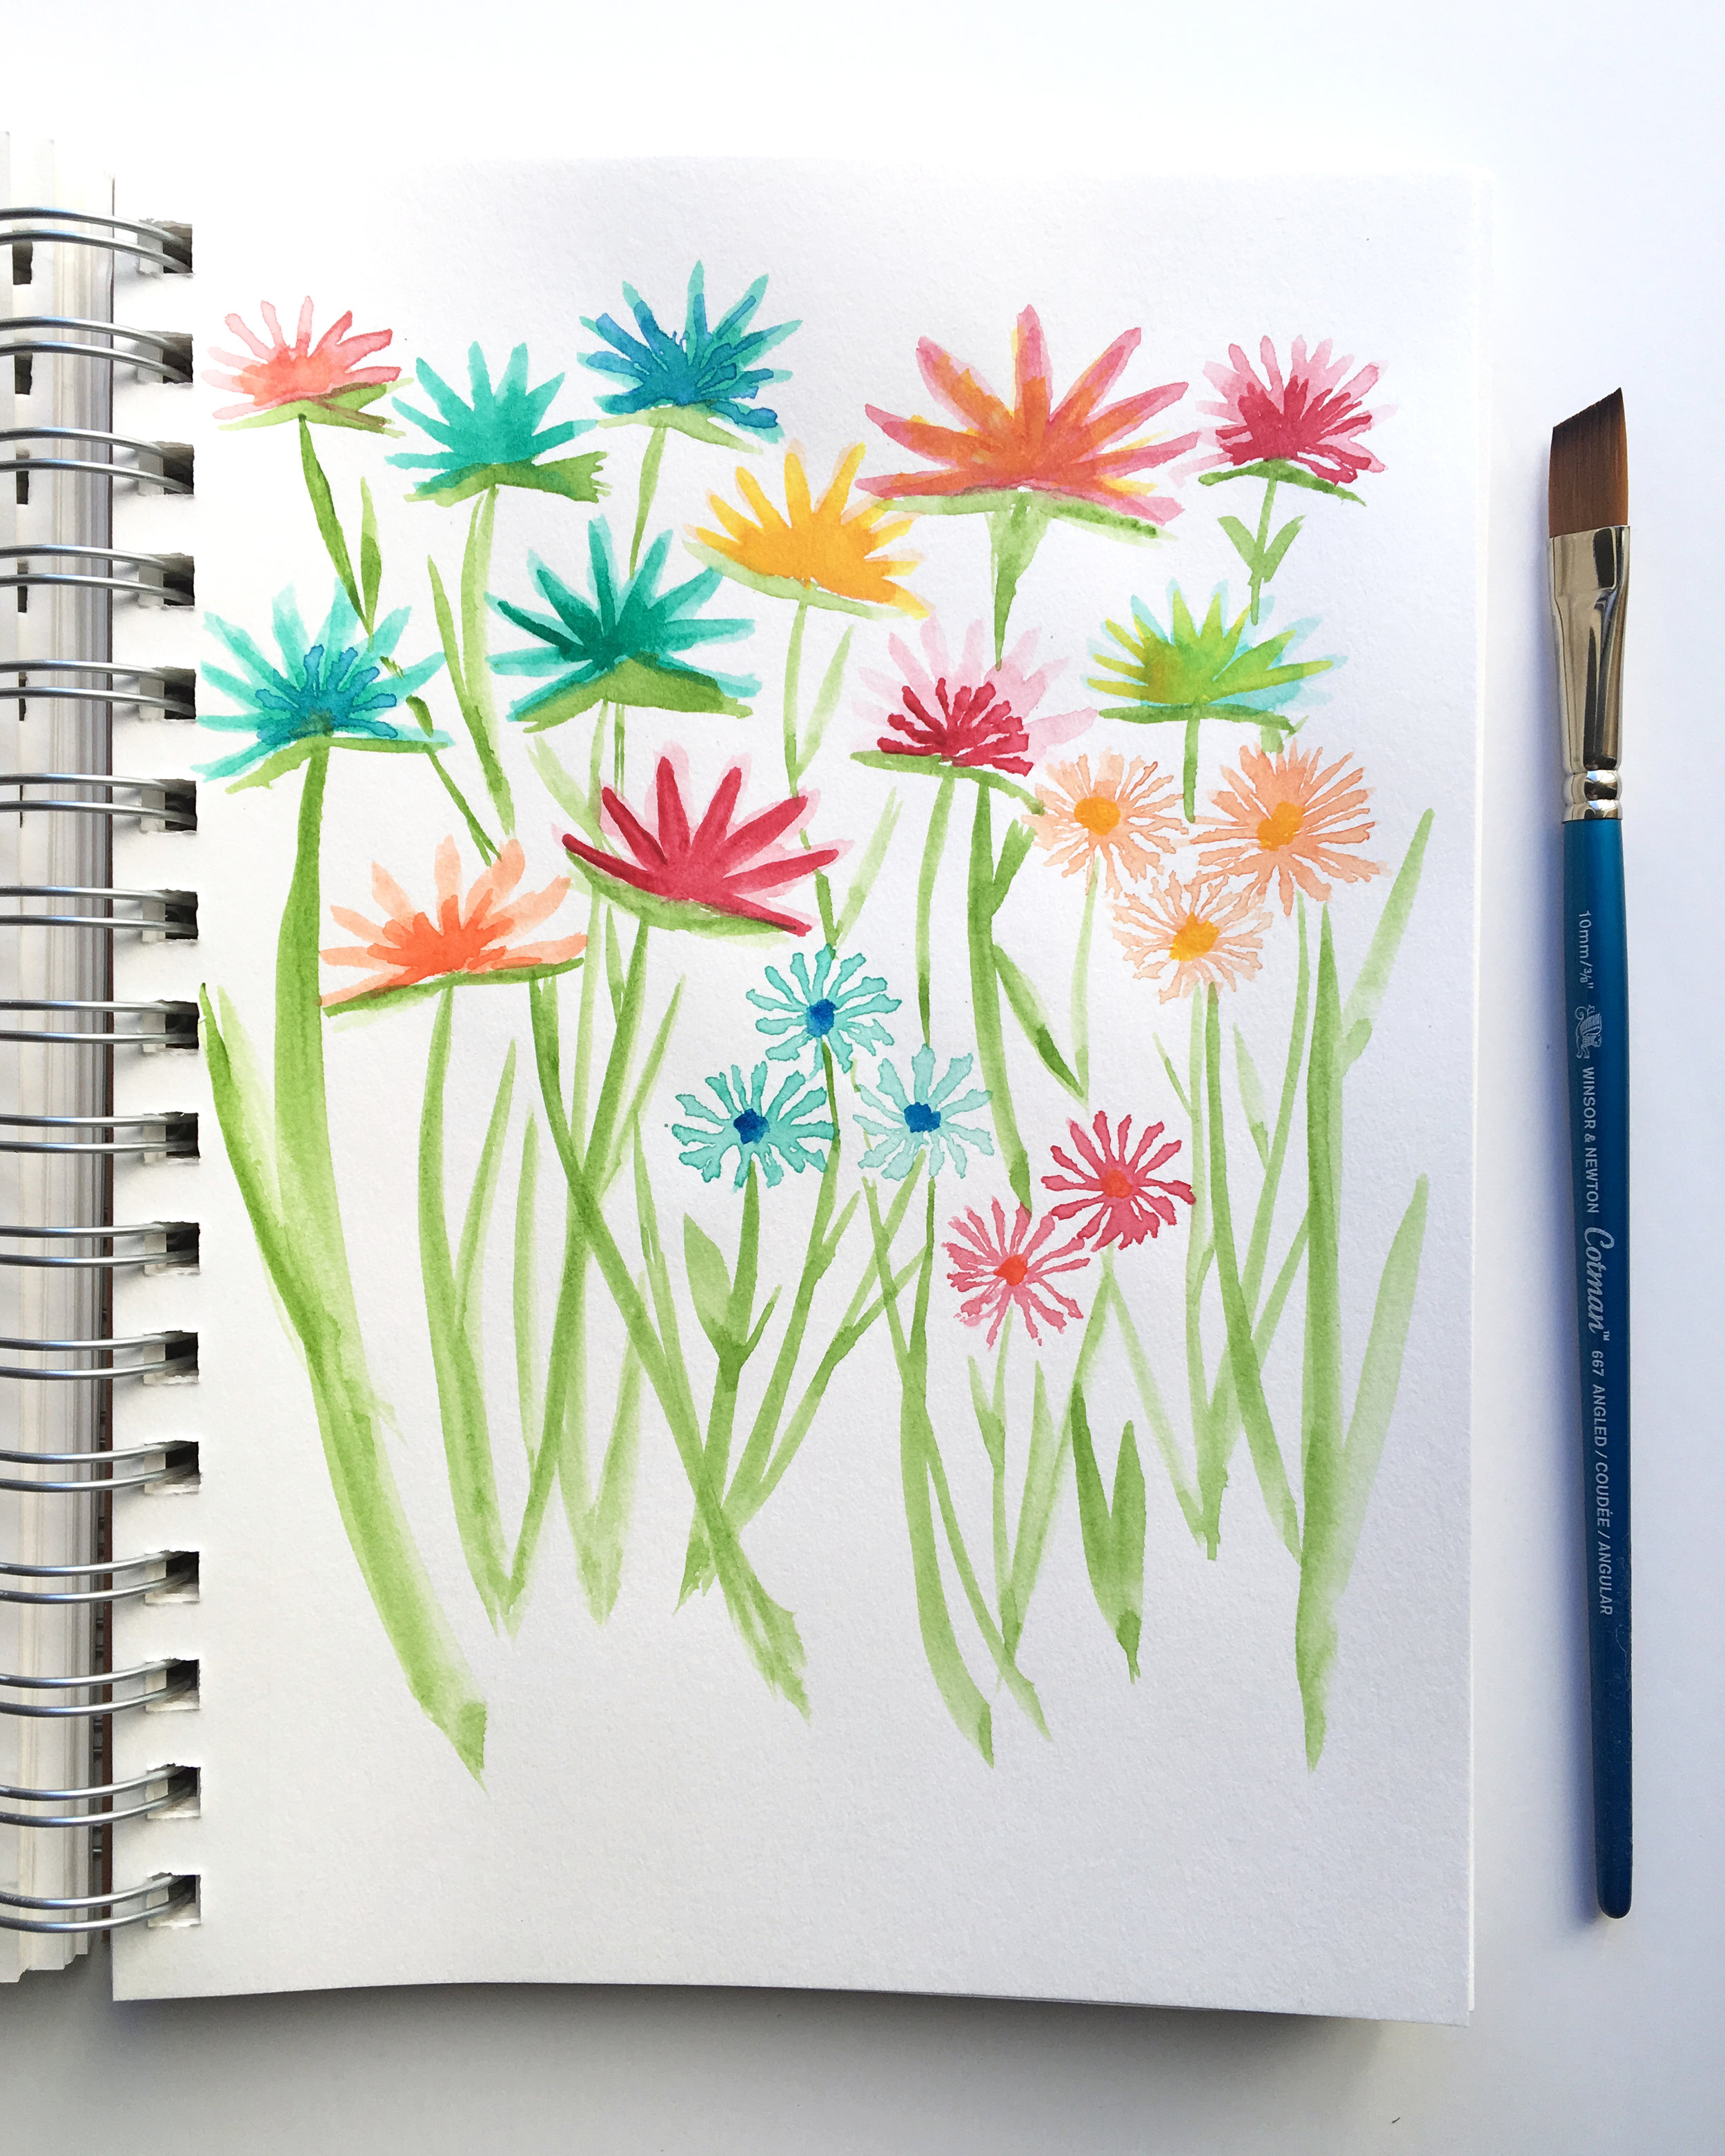
As I prepare to continue Yao's class, however, I purchased the 10mm angled brush she recommends. I found it at Michaels and used my 50% off coupon for a total spend of $5. Not bad.

I couldn't help myself and started using the brush to see how it feels and thought I'd show you what I'm learning.

Working with an Angled Watercolor Brush • Delighted Creative Co

To test out the brush I drew lines, letters, shapes and just filled up a practice sheet to see how it felt. My favorite discovery was the way it will make thin petal shapes for a basic floral.

Working with an Angled Watercolor Brush • Delighted Creative Co

I also like the straight edges, lines and the possibility of creating structured shapes. I will need to practice over and over to gain control and reduce the shakiness of my lines, but the potential is there. I can see myself using this for painting houses (which I currently love to sketch), florals, geometric patterns, and possibly even letters.

I'll continue practicing with it and and looking forward to seeing how Yao recommends it be used.

Working with an Angled Watercolor Brush • Delighted Creative Co

Watercolor Practice: Floral Stem

Hi there! I hope your week is off to a great start. This is my last week of sabbatical but my life will be completely changing three weeks after I go back to work because we've decided I should stay home and be a full-time mom. At least for the next year or so. I'll be returning to wrap things up and then heading back home to stay with the kids. I'm super excited but also a little hesitant about the whole thing because I have had moments/ hours/ days of complete overwhelm and exhaustion during the past few weeks while I've been home. This mom business is so hard. Rewarding and meaningful, no doubt. But hard.

Aside from all the time I've been able to spend with the kiddos, I've enjoyed exploring art in a way I've never done before. Drawing and painting are not naturally my "thing" but I'm finding myself doing both every single day. And loving it! 

I appreciate how art is personal and anyone and everyone can learn to create if they so choose. My 3-year old daughter and I have spent hours these past few weeks doing art projects together: using acrylic paint, watercolor, markers, clay and pencils. I've found myself sneaking in 30-min here and there during nap times or early in the morning to practice and continue learning on my own. The other day I was painting in the early morning and when she woke up she said "Mommy! You're doing an art project in the morning!? That's kind of silly."

From Photo to Sketch to Watercolor Painting • Delighted Creative Co.

This past weekend I spent some time sketching and painting from a photo I took of a flower. I thought I'd share the quick process with you and encourage you to give it a try if watercolor is something you're interested in trying.

I took this photo:

Sketching and Painting from a Photo • Delighted Creative Co

Then sketched for 20-min or so:

From Photo to Sketch to Watercolor Painting • Delighted Creative Co.

Then sketched on watercolor paper:

From Photo to Sketch to Watercolor Painting • Delighted Creative Co.

Then painted!

From Photo to Sketch to Watercolor Painting • Delighted Creative Co.

It was a fun process that I hope to do more of very soon :)

Free Download: Watercolor Notecard

Happy Friday! If you like colorful note cards, I think you might enjoy today's free download. Using one of the practice watercolor designs I worked on this week, I designed a size A6 note card that you can print and cut at home.

Free Download: Watercolor Note Card • delightedco.com

It's super easy: print on card stock, cut (I've included crop marks), and fold in half. I love Paper Source envelopes and am using a fuschia A6 envelope for mine but I think Clover or Royal Blue would work well too. In case it helps, I also used Paper Source 8.5 x 11 card stock in Pure White. 

Another idea...instead of folding in half, you can cut in half and use as A6 flat cards. Have fun and print as many as you'd like!

Free Download: Watercolor Note Card • delightedco.com


What I'm Learning: Watercolor

Watercolor has always felt a bit mysterious to me. While watercolor does have a welcoming feel being that it is often used by kids, there is a complex side in that it doesn’t provide as much control as I’d like. The bleeding and color differentiation can frustrate me because I don’t know what I’m doing.

Learning to Watercolor using Yao Cheng's Beginner Class on Creativebug | Amanda Gomes • delightedco.com

I am a complete novice when it comes to painting in general and until recently, have used the same palette of watercolors and very inexpensive brushes from Michael’s for the past few years whenever I felt a desire to paint. I have had no skill or understanding of how much water to use, how to use the brushes appropriately, or even how to paint anything other than stripes. Seriously. I’ve tried and always end up a little frustrated.

So I am, yet again, very happy for the myriad of online courses available to me during my sabbatical. This week I’m working through Yao Cheng’s Watercolor for Beginner’s class on Creativebug and have found a new respect and understanding of the medium. Even after learning just the basics, I feel much more friendly towards watercolor and I’m having a lot of fun!

A few of my takeaways:

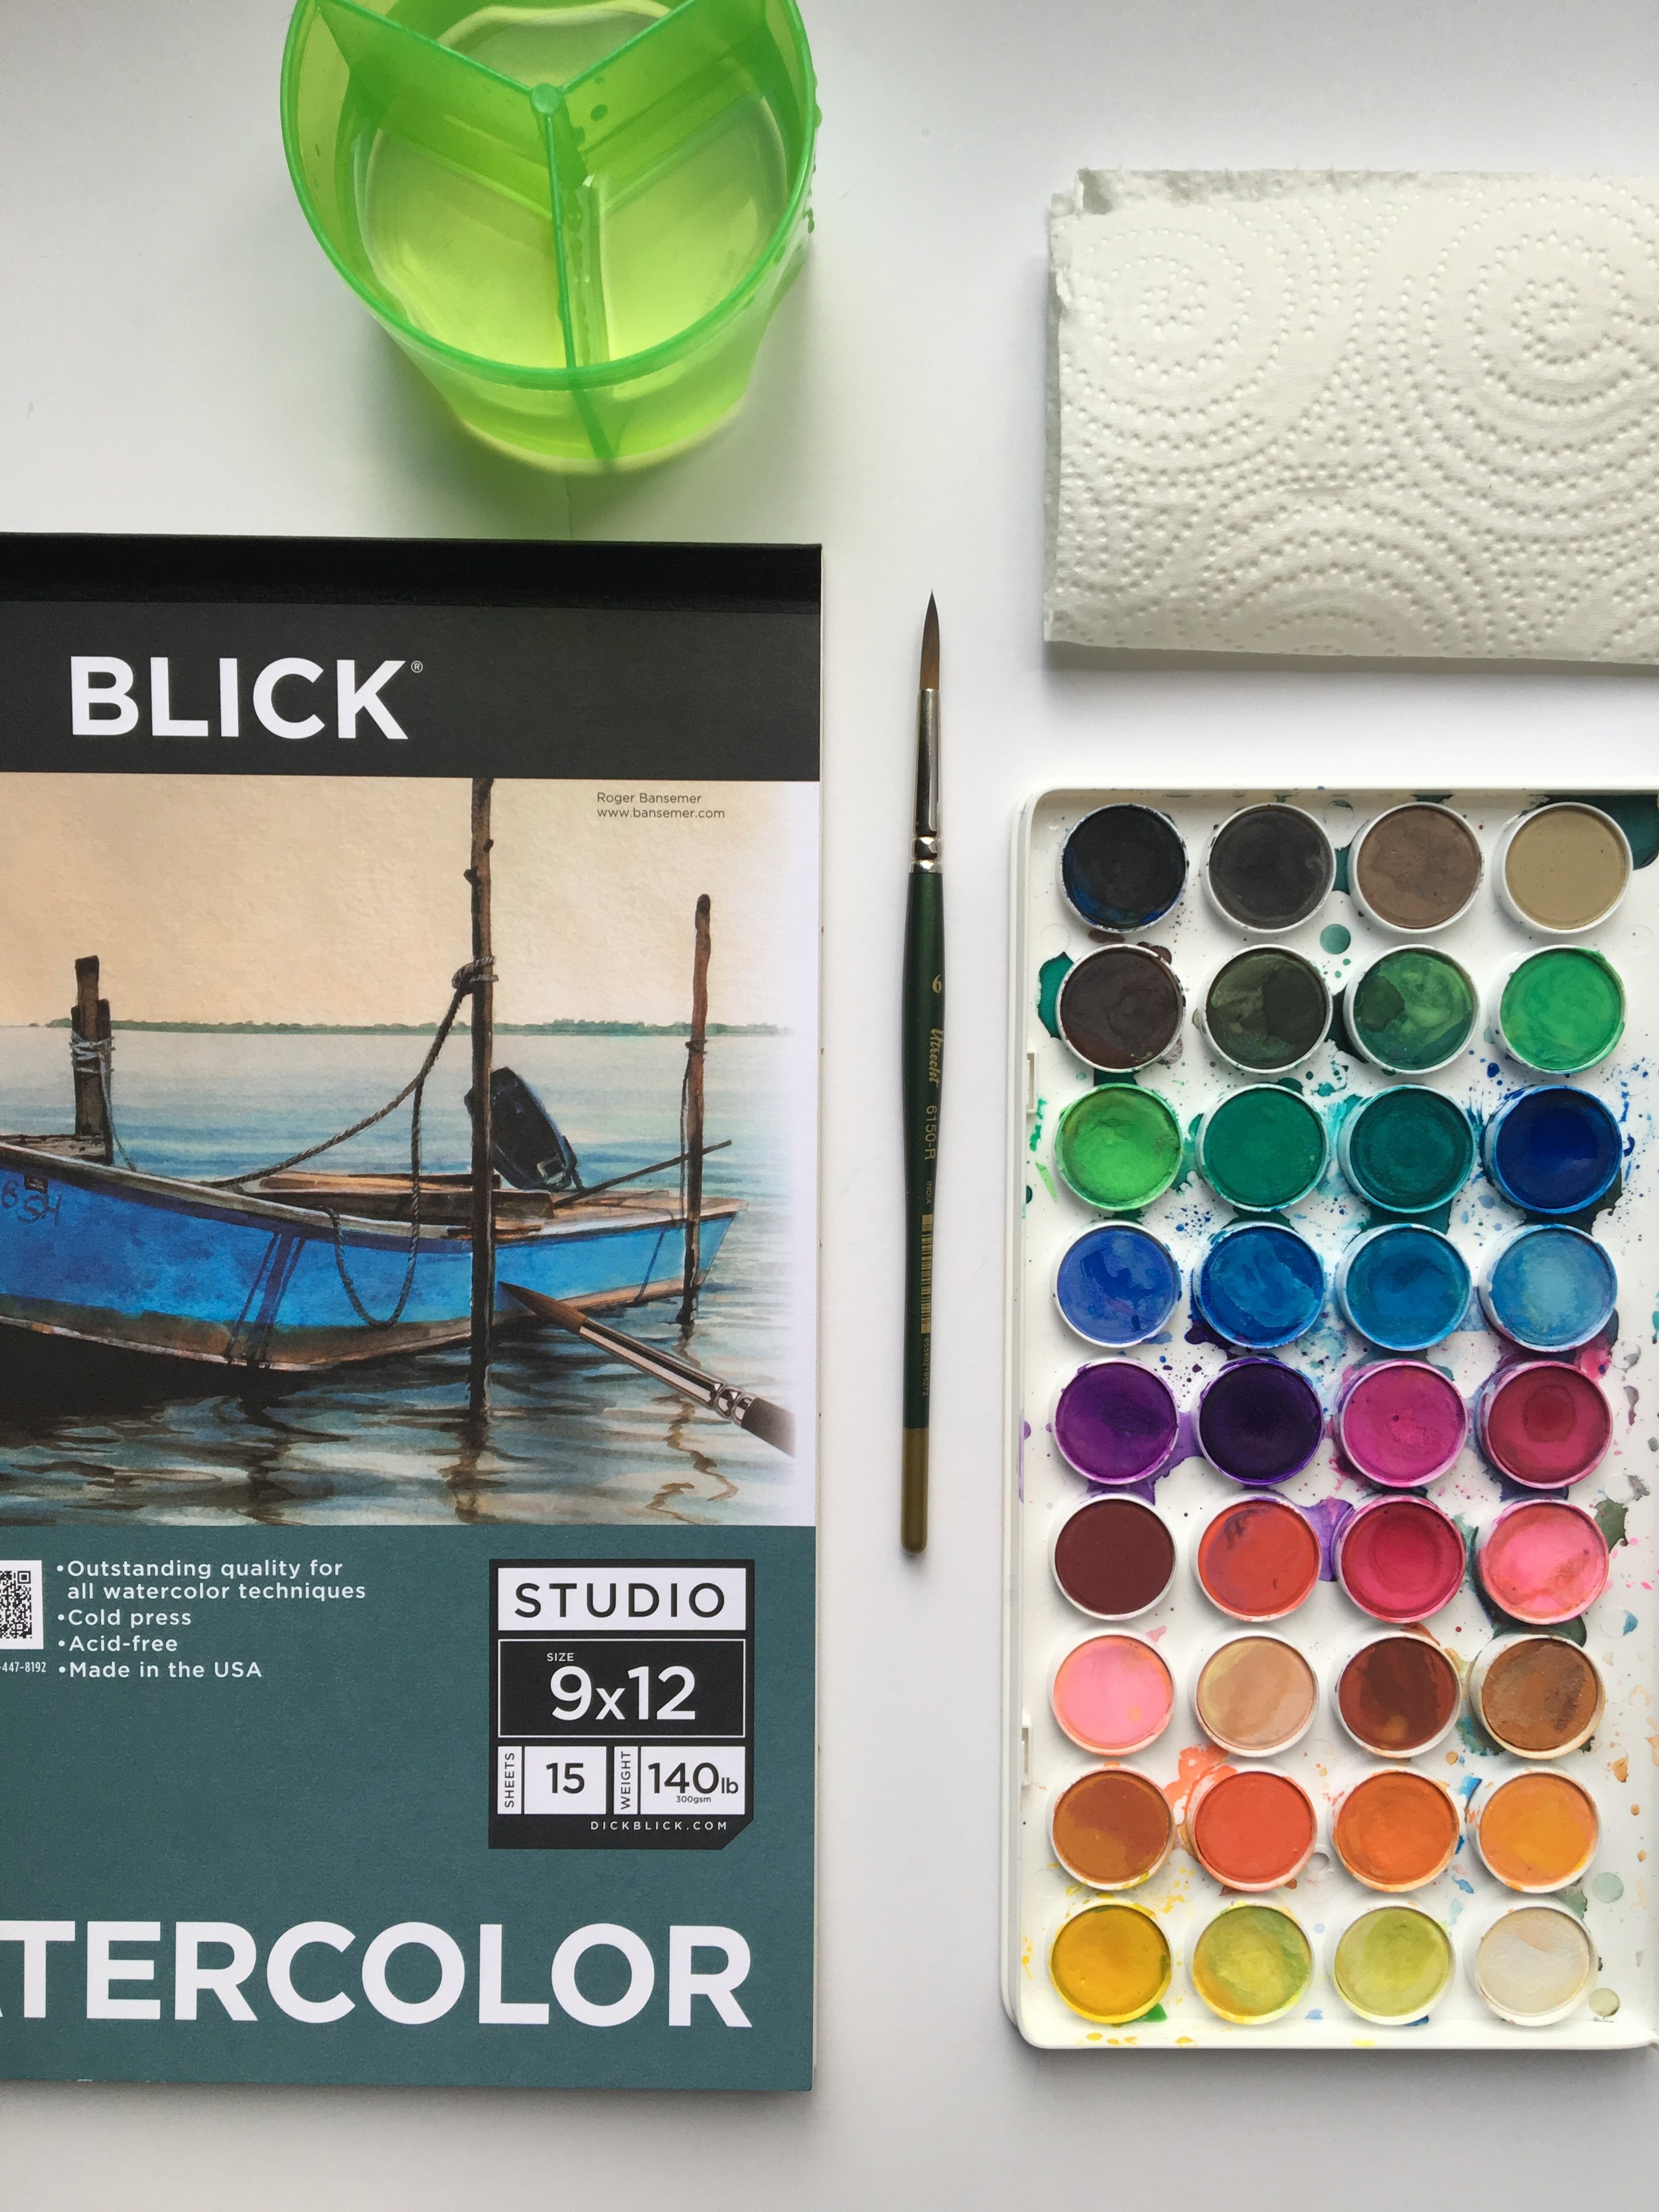
Supplies. Paintbrush, Paper Towel, Watercolor Paint, Two Jars of Water, and Cold Pressed Watercolor Paper (has more of a "tooth" which is that texture you expect from watercolor paper vs Hot Pressed which I think is a little smoother).

Water Jars. Yao recommends using two jars of water to keep the cool colors (blues, greens, purples) separated from the warm colors (reds, yellows, oranges). Separating the cool and warm colors means you can have more flexibility with rinsing and even using some of the water from the jars in your painting while avoiding the dreaded brown, muddy color that so often happens when mixing.

Wetting the Brush. Always start by getting your brush really wet and swiftly move the brush around in the water jar before dipping into the paint. This might sound super basic (it is), but I used to just quickly dip my paintbrush in the water and start. What that meant is that the water wasn’t filling the brush and in turn, the paint wouldn’t go as far on the page. When your brush is really wet (versus simply being damp), you’ll end up with a lot more paint in your brush.

Brushes. Using a larger brush (Yao’s is size 20, I only had a size 6) can get you lots of great effects. Use the point for small strokes and dots or press down for thick lines. The projects I did for the first part of her beginner’s course were all done with my size 6 brush. (Side note: in the art stores there are so many brushes, it can be overwhelming. But brushes are made for different media so find the brushes labeled W/C or Watercolor and get those instead of the brushes made specifically for Oil or Acrylic. The helpful guy at Blick gave me that tip...apparently the watercolor brushes are made to soak up water.)

Work Quickly. Getting colors to blend provides interesting effects and often creates unexpected colors. When you work quickly, there is a better chance of blending before the colors dry on the page.

Colors. When you want a lighter color, add more water. When you want a deeper color, don’t use as much water. But unless you’re going for a dry brush effect in your work, saturate your brush with water before dipping into the paint.

Shapes. One pointed tip round brush can create a lot of different shapes. As I mentioned, all of the lessons I painted were done with the same brush and I ended up with triangles, circles, dots and swashes.

Don’t Aim for Perfect. Have fun and don’t expect things to be perfect. Obviously as a beginner I should know this from common sense but I still always have an idea in my mind that I wish I could execute. However, experimenting with blending, colors, different amounts of water, shapes, etc. is fun and is all I need to worry about right now.

If you haven’t tried watercolor but want to, I recommend Yao’s class to get started or any other class / tutorial available on YouTube or Skillshare. I think you'll like it! (link below)

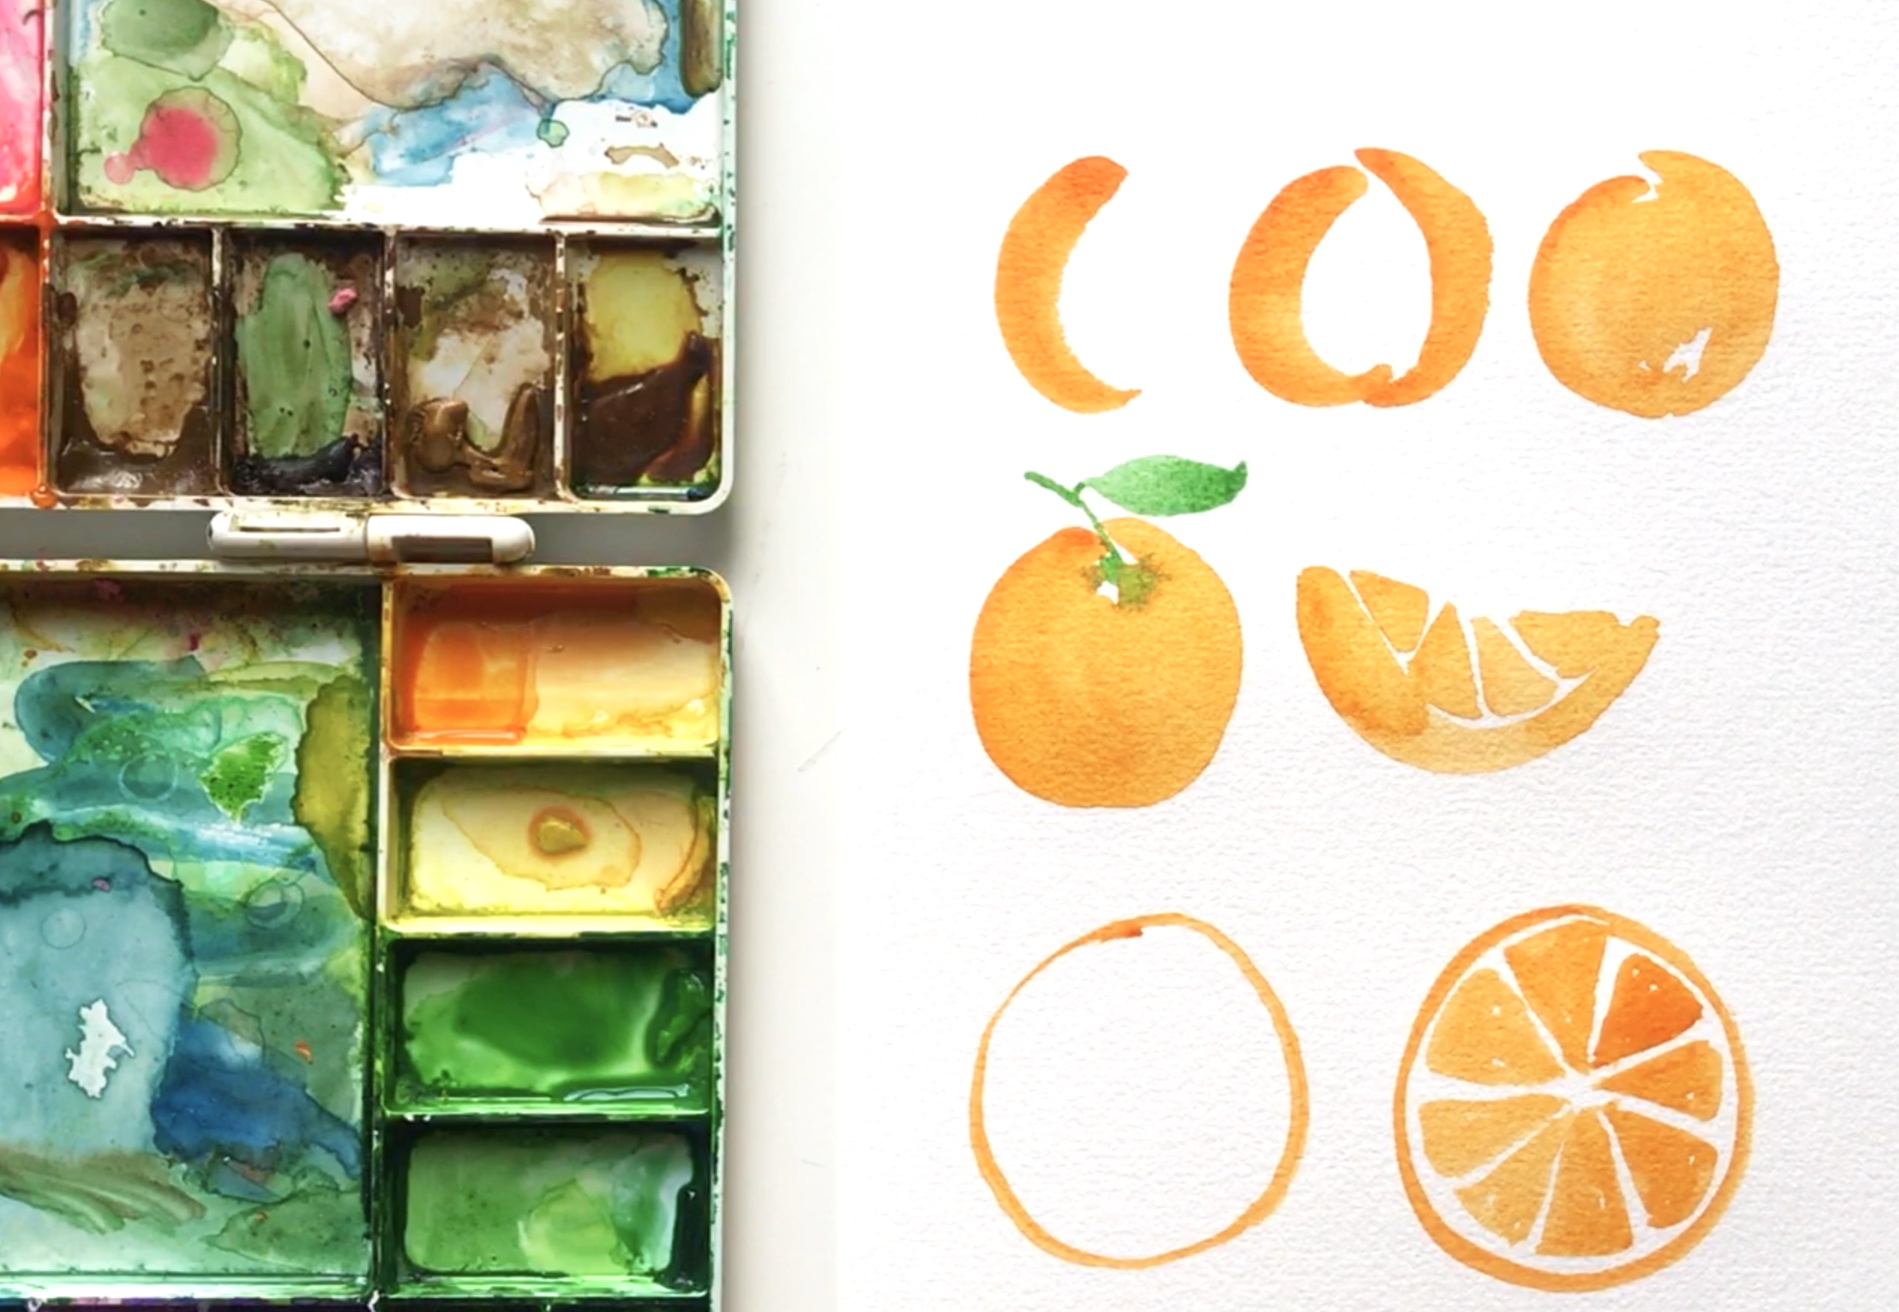
What I'm Learning: How to Watercolor | Amanda Gomes • delightedco.com
What I'm Learning about Watercolor | Amanda Gomes • delightedco.com

Illustration: Aster Flowers

I'm going to sing Lisa Congdon's praises again. I am so happy I discovered both her and Creativebug because she is teaching me so much as I continue my online learning addiction. Her approachable style, encouragement to practice regularly, and reminders that I shouldn't be aiming for perfection are what make her an ideal teacher in my book. Not to mention: her work is really great.

In addition to her 31 Things To Draw Course, Lisa has a Drawing and Illustration Basics class which I'm going through at the same time and feel like a whole world has been opened to me. A world of drawing. Something I never thought I could do...but I'm doing it. And yeah, I'm drawing at an elementary level but I feel like I'm improving each day and I'm completely enjoying myself, which is a good enough reason to continue.

Today I'm sharing the sketches and a bit of the process that I took to make this month's floral tech calendar. (If you didn't get yours yet, you can get it HERE.) Lisa recommends drawing things again and again and in as many variations as possible.

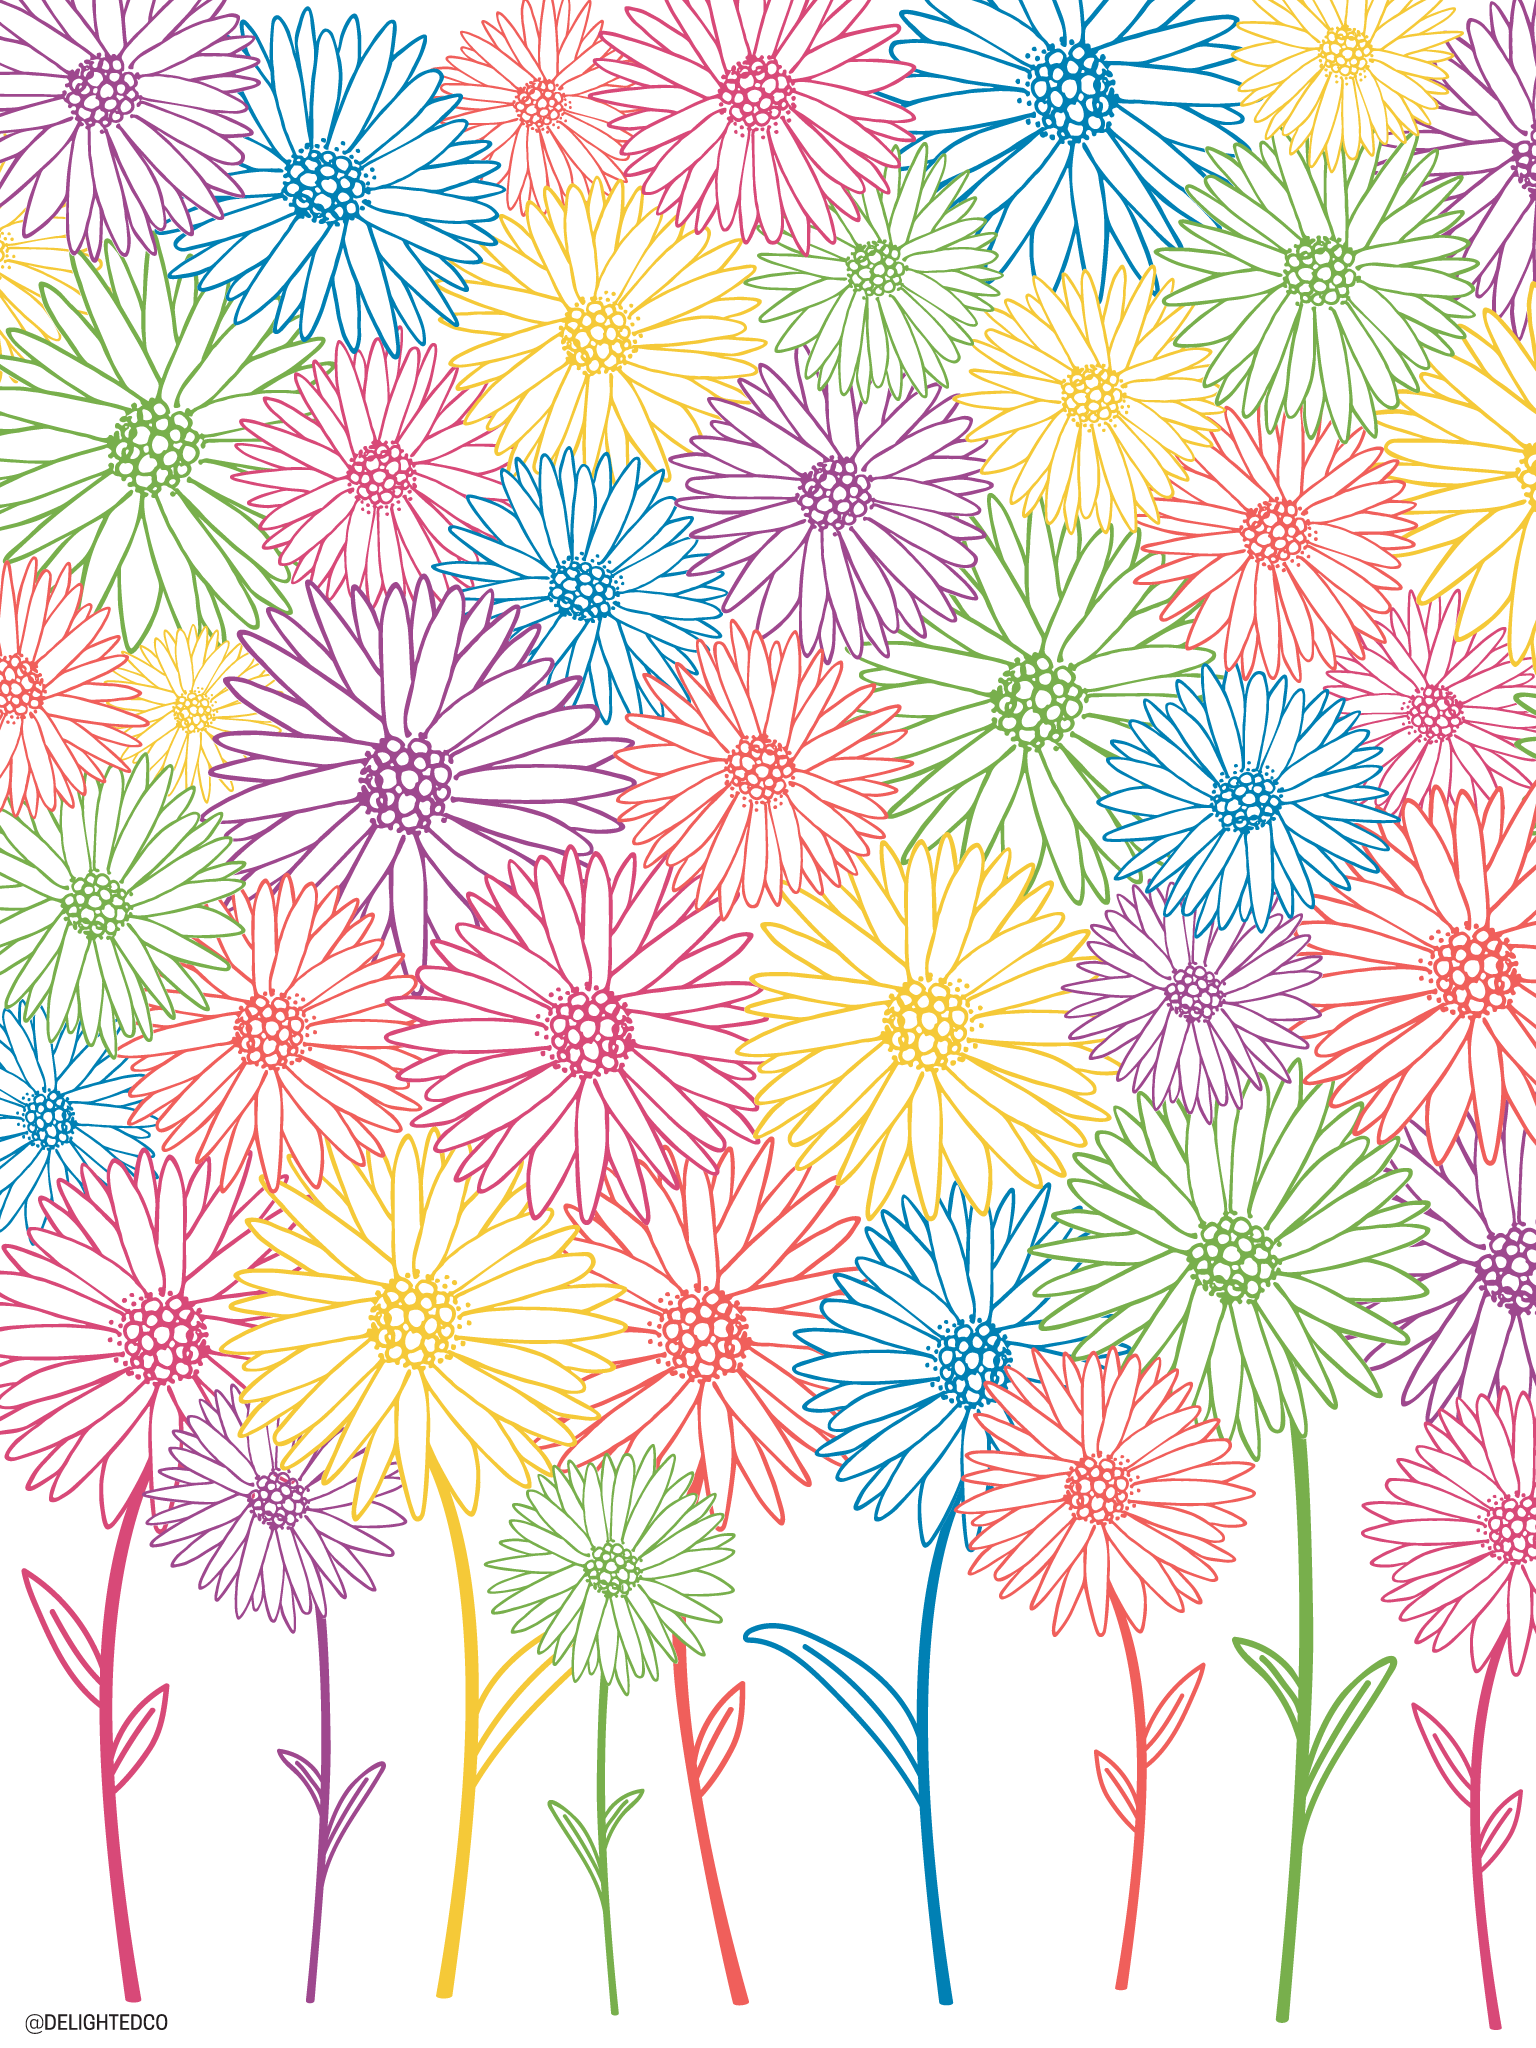
My final piece looks like this:

Aster Flower Illustration by Amanda Gomes • delightedco.com

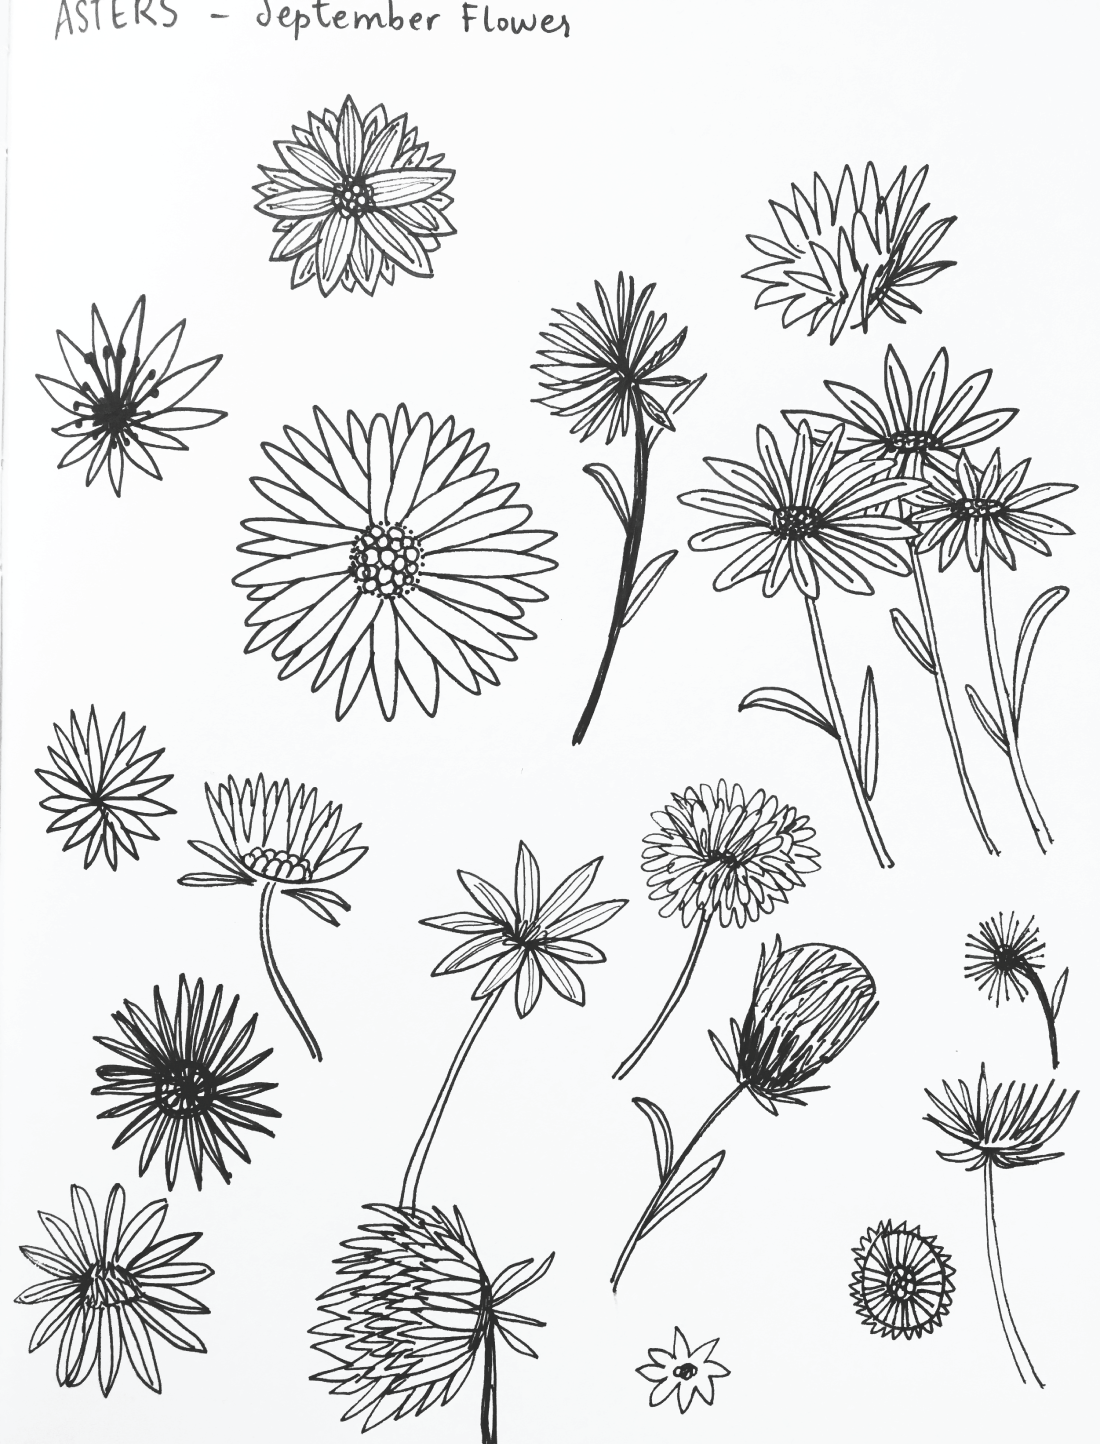
I started with sketching a page of asters.

Aster Flower Sketches by Amanda Gomes • DelightedCo.com

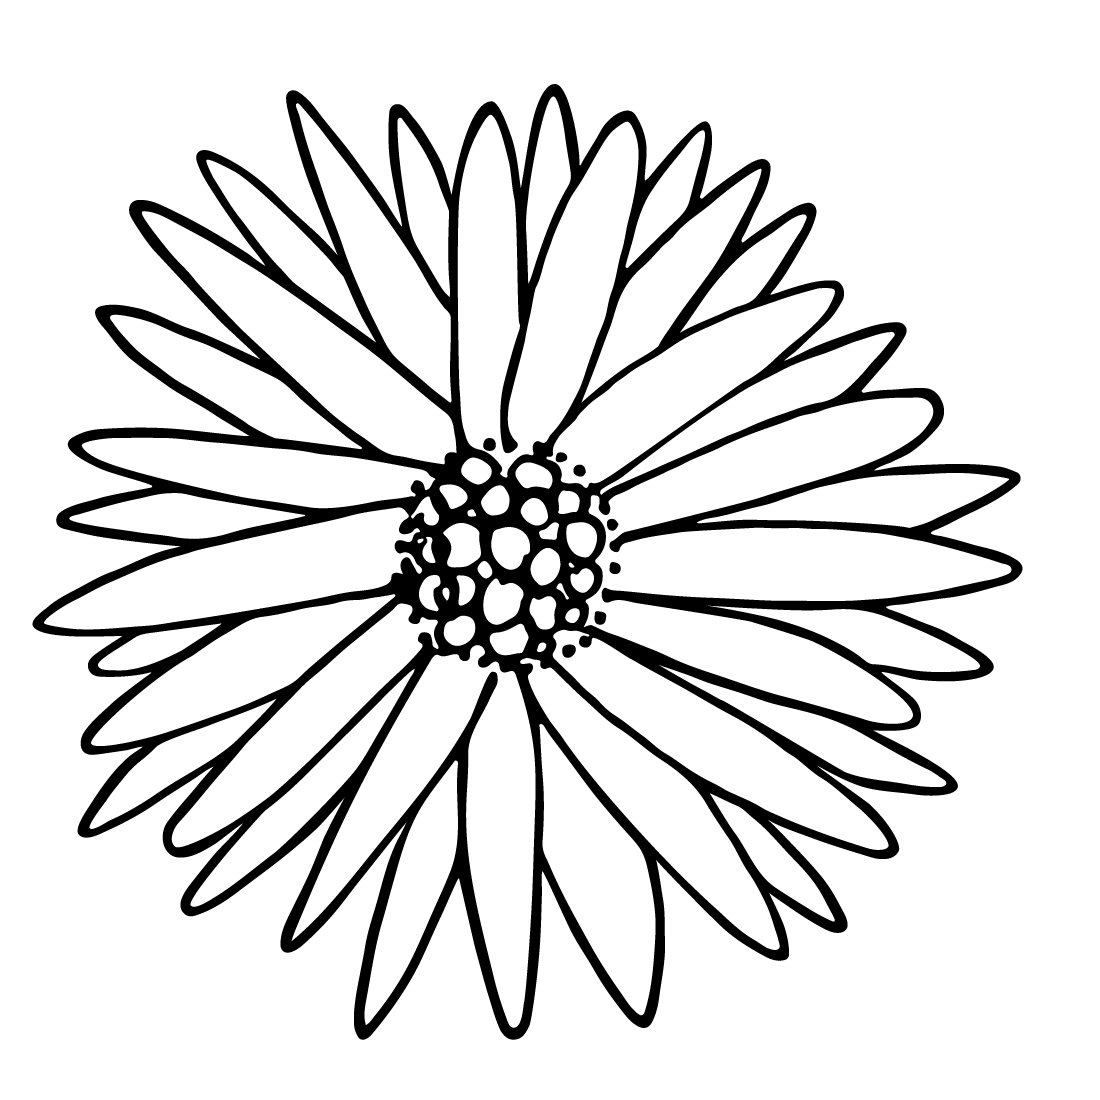
Chose one, cropped and lightened it in Photoshop. Then brought it into Illustrator and used Live Trace and the pen tool to vectorize and smooth it out.

Aster Flower Sketch by Amanda Gomes • delightedco.com

Then played with color, added stems, and built a page full of flowers. It was fun and I'm happy with the way it came out :)

WIP - Aster Flower Illustration by Amanda Gomes • delightedco.com